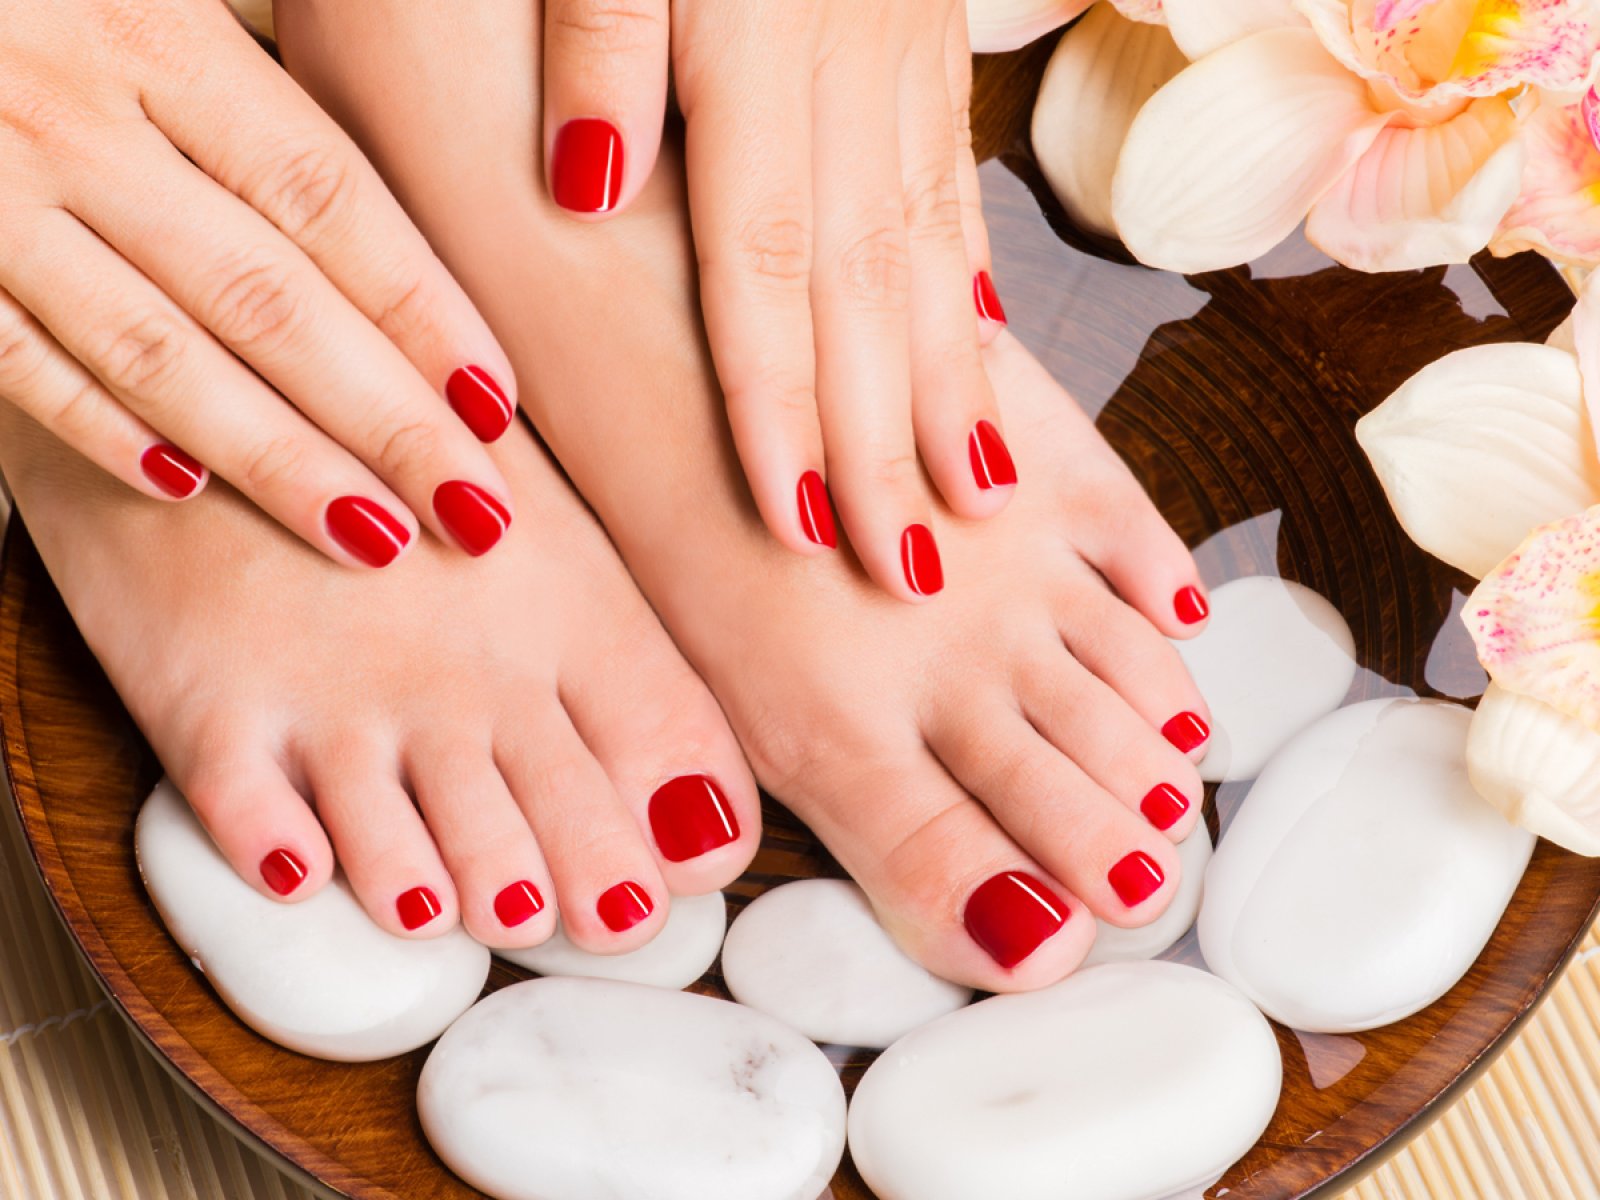
Pedicuring your feet is always a nice thing to do, regardless of whether you’re walking on a soft garden or a rugged surface with just your sandals. Taking care, showing appreciation and attending to the needs of your feet can be really beneficial for you in the long run when your lower half of the body thanks you when you least expect it.
How to give yourself a spa pedicure at home
Luckily, giving yourself a french manicure and pedicure is safe, easy and effective. No, it is not going to land your foot in a body of mess and it would not even cost you a lot of money.
What it would do instead is to instil (not install) a degree of confidence and self-belief within you that you are in charge of your life, even in seemingly trivial issues which do matter.
Just take the following steps carefully and you’ll soon be hailed as a self-proclaimed foot care specialist in no time.
Initial bit of preparation
Place a chair behind a clean bucket filled with lukewarm water. Then, put your bath towel into a square, pushing it further into the bucket. Taking these steps would give your feet a nice/comfortable surface to rest upon even as you soak them.
Pedicure Procedure Step by Step at Home
Step 1: Begin to fill your bathtub with warm water (we covered this above but do it for sure, hence the reminder!). Add some bath salts, foot soak and Epsom salt to let it dissolve into the water. That is going to be your DIY Pedicure Kit.
Step 2: While the pot is filling, take out any old polish from your toes with nail polish remover and cotton balls. If necessary, shear and file nails to desired shape and length.
Step 3: You may want to keep busy while your foot is getting its treatment. Get some magazine or book, surf the web listen to some cool music, or sit back and concentrate on the warm water caressing your feet. Soak for at least 5-10 minutes, if not more.
Step 4: Using a small brush, buff one foot and follow it with the other one. This will remove dead skin cells while soothing your feet.
Step 5: Use a foot scrub and follow pedicure massage techniques as you apply the cream. Focus a lot on all the rough spots that need attention. This will help you soften as well as exfoliate the feet.
Step 6: A pumice sponge is a great way of softening and treating your rugged, rough feet! This cheap item can be easily used to get rid of stubborn rough spots.
Step 7: Remove both your feet slowly from the tub and dry them using a clean towel. Apply a reasonable quantity of Pedicure Gel Toe Separators over them.
Step 8: Take an orangewood stick and thrust your cuticles carefully on the toe nail. Ensure their suppleness and softness.
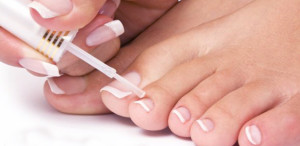
Step 9: You may also paint the toenails. In order to do that, use toe separators. Apply gently some nail polish color along the gaps to bridge the uneven surfaces.
Putting base coats which are a bit opaque is a good idea because it provides robustness to the nail and prevents breakage.
Step 10: Now apply your favorite shade of nail polish. Allow the initial coat to dry off. Repeat the process on the other feet and repeat.
Step 11: Apply a tiny topcoat on the foot to not only impart some shin, but also to safeguard the color from damage.
Step 12: Having done the process, just savor the moment. Enjoy your good-looking, soft feet that are looking like brand new. You can confidently carry off any look that you want to exhibit to the world around you without having to carry about the appearance.